Rock Sliders
This is my first project post so I'll start out by saying that I'll mostly be linking to Instructables. When appropriate I'll use this blog to elaborate on a given project whether it be technical details, background information that would bloat the Instructables post and/or afterthoughts.
So here we go. First up are a pair of rock sliders for my Jeep Cherokee. This will be a bit unique as I really didn't take enough pictures to make a nice presentation on Instructables so I'll just walk ya through my process.
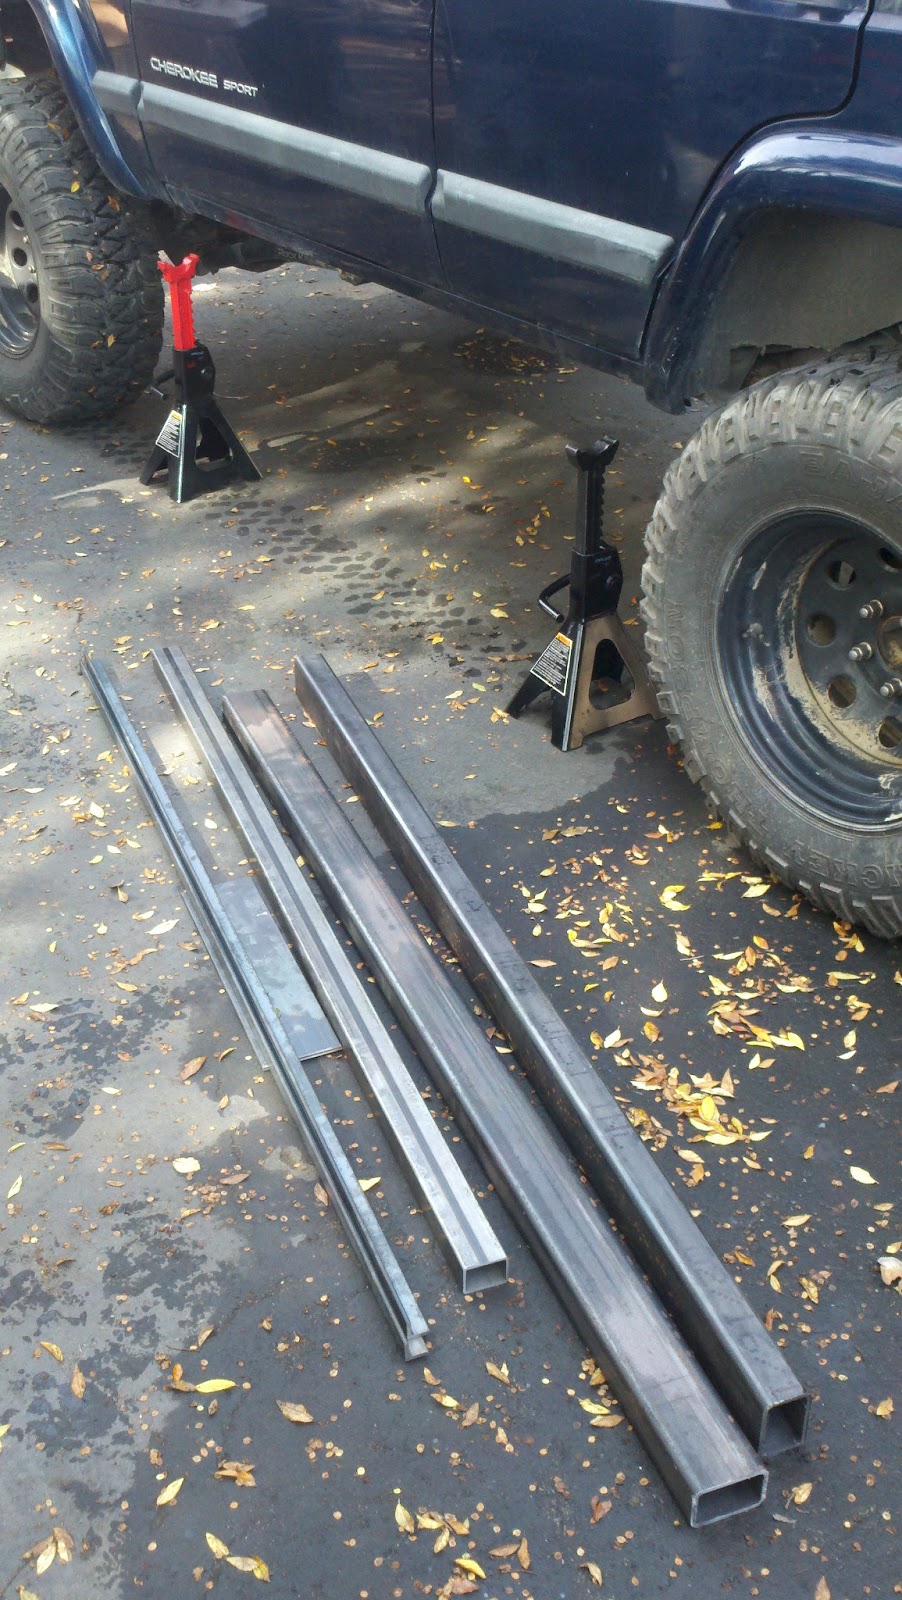
First up is to buy the steel. I've found Alan Steel in Redwood City to have the best selection and prices for the bay area. Very nice, reasonable, and fast. Oh, and did I mention they only charge $2 a cut :-) I bought some 2x3x3/16 sq. tube for the main slider, 1.5x2x1/8 for the extension that would be bolted/welded to the body and some 1x1x1.8 angle iron to mate it up with the pinch seam. All-in-all it came out to about $80 if I recall correctly.
Here's a pic of the stock prior to cutting and what would be my outside work around for tack welding.
 Time to start measuring and cutting. Taking the 2x3x3/16 I used a horizontal band-saw to cut the ends at
45 degree and welded some plate to the ends. Finishing up with the
grinder to make a nice radius. Not the best picture but you get the idea.
Time to start measuring and cutting. Taking the 2x3x3/16 I used a horizontal band-saw to cut the ends at
45 degree and welded some plate to the ends. Finishing up with the
grinder to make a nice radius. Not the best picture but you get the idea.
With the sliders being rather heavy and not having someone else to hold it in place while measuring out the extensions I came up with this setup which worked quite well for getting the exact fit that I wanted. Now I see why I always held the flashlight for Dad as a kid :-) Underneath, you can see where the mount plate will be bolted on to the frame. Midway through the project I decided to weld them on instead and don't have any images to show that so just picture the extensions without the mating plate. So my process was to basically:
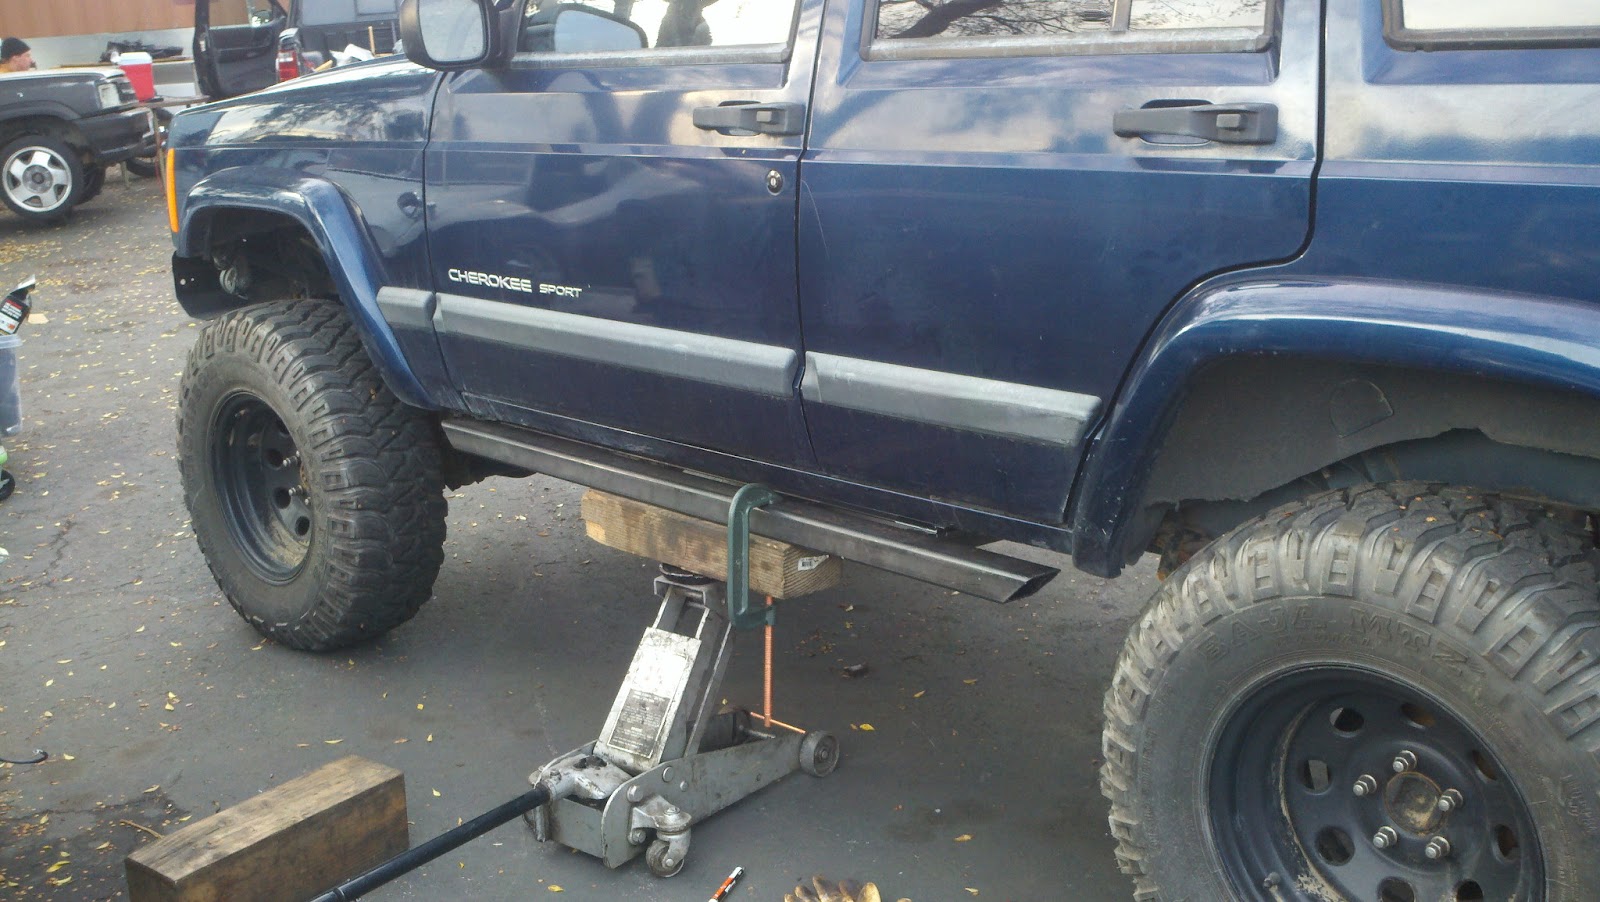
- Hold the slider in place with a jack
- Mark and Cut extensions to fit
- Mark a series of holes in the angle iron that would be used to bolt to the pinch seam.
- Drill holes for 1/4-20 bolt
- Mount angle on pinch seam and drill into seam(s)
- Do the fitment a 2nd time to ensure everything is good.
- Tack weld everything together while performing yoga
- Remove the slider from position and finish welding indoors away from the wind.

Here's a shot of the workspace area I have at the Techshop which suits most needs I'd say. Next up is to get everything finished and painted. This is something I could've done a much better job at. For the most part I did two coats but that appears to not be enough as I can see rust on them. Maybe a good clear coat would've been a good idea.
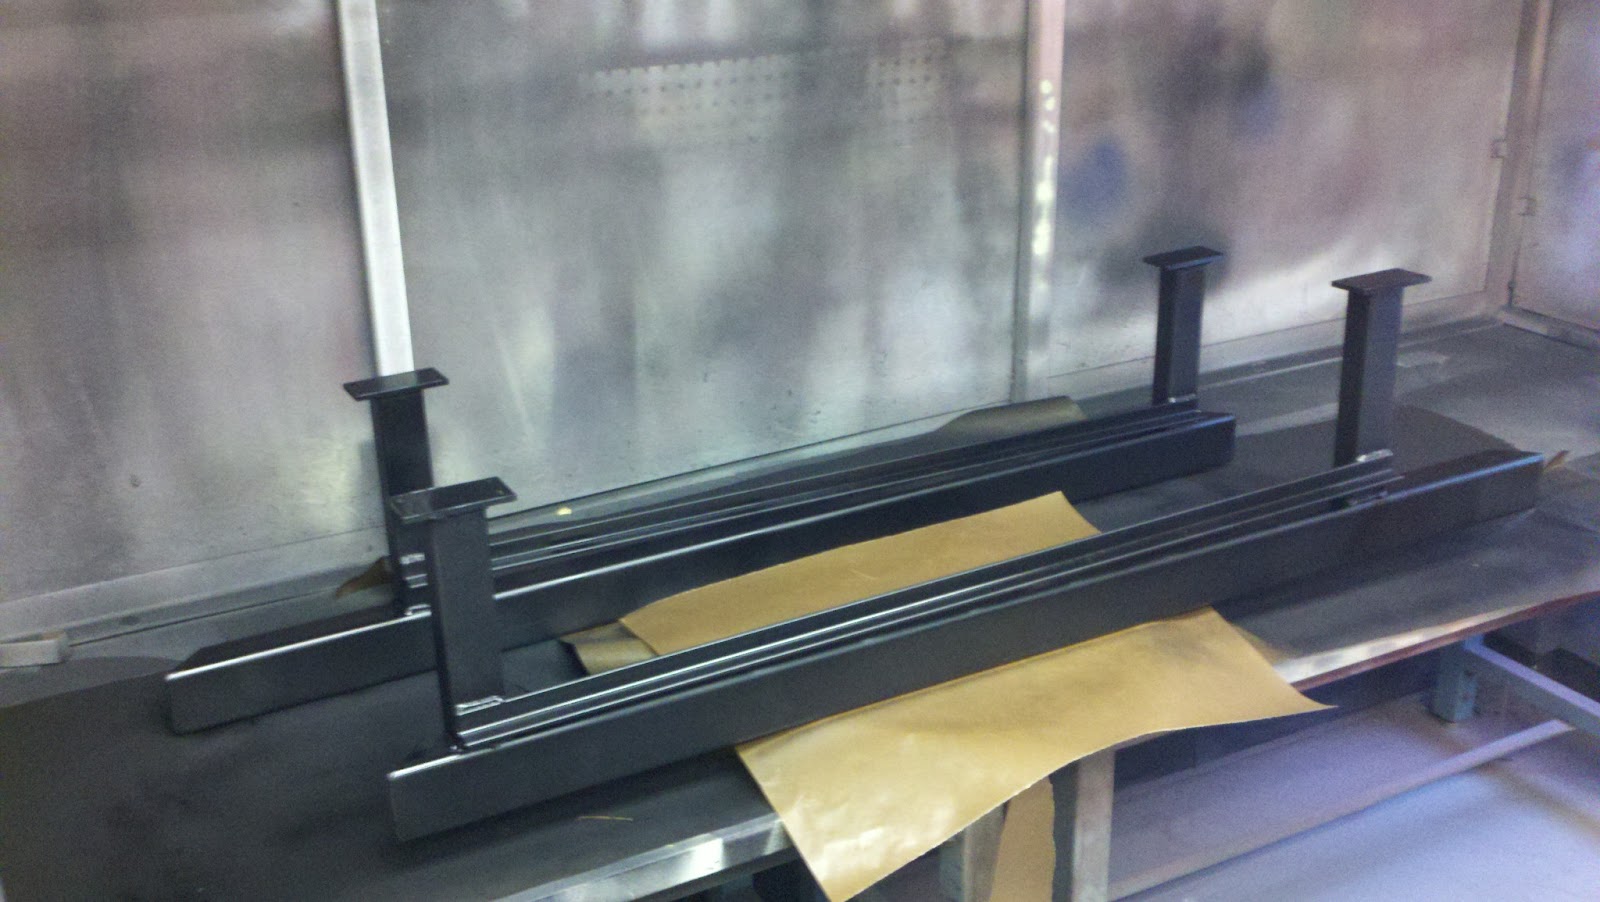

Overall I'm pretty happy with them. Pretty soon I'll probably be re-painting them and updating them with an upper tube rail kind of like the poison spyder sliders seen on JK's today. Here's a shot of the finished product.

No comments:
Post a Comment